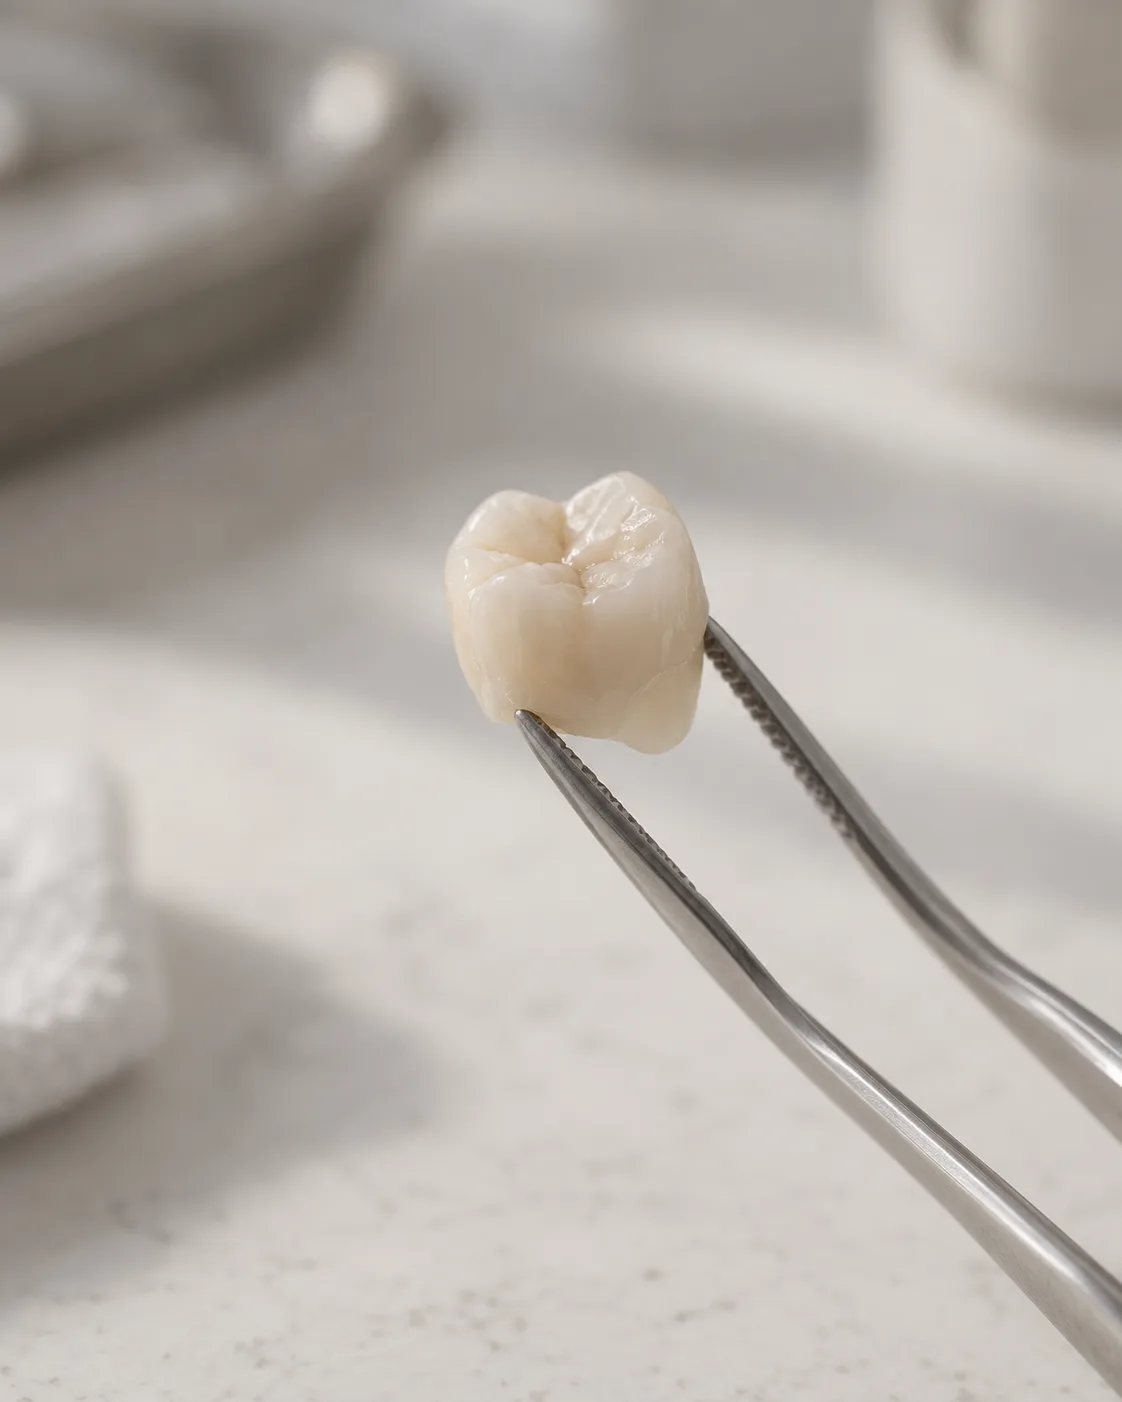
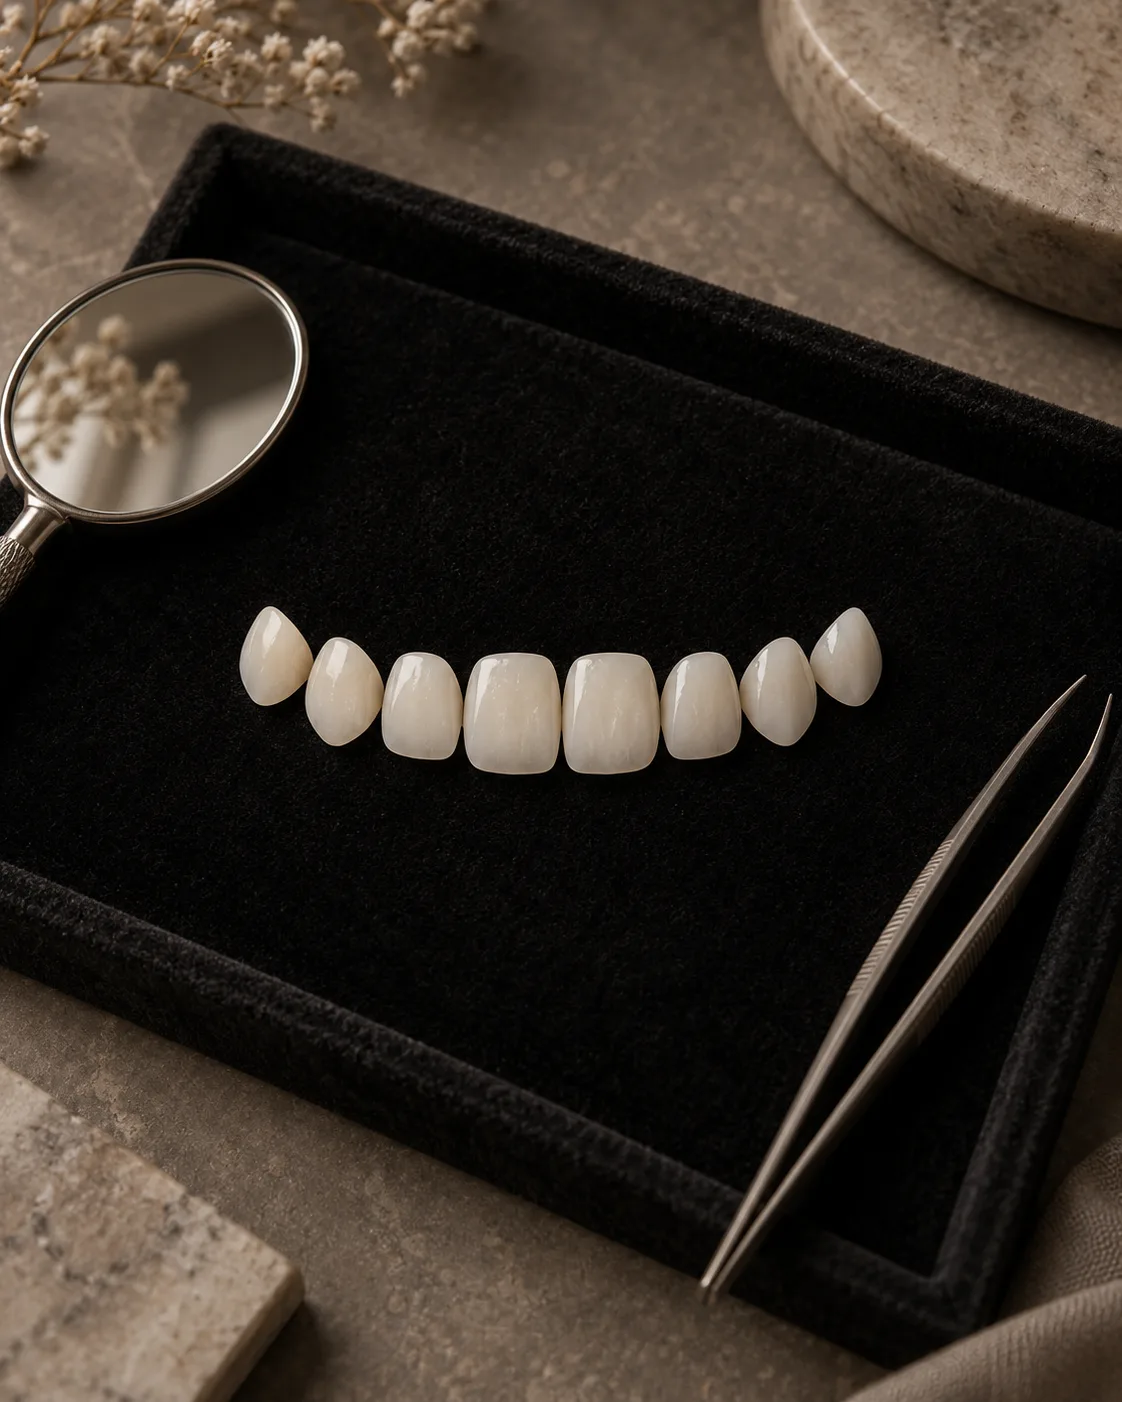
A temporary crown is not a compromise you are being fobbed off with. It is a working part of the treatment, and a badly made one causes most of the problems people blame on the final crown.
A temporary crown is a acrylic cover made chairside and cemented with soft cement, worn for the days between your tooth being prepared and the permanent crown being fitted.
The short answer. It is not a cheap crown. It is a dressing that protects a prepared tooth, holds the gap and lets you eat while the laboratory makes the real one. Included in your crown treatment, not a separate purchase.
02
The four jobs a temporary crown does
Protects. A prepared tooth has had its enamel removed and the dentine underneath is sensitive and vulnerable.
Holds the space. Teeth drift within days. If the neighbours move, the finished crown will not seat.
Shapes the gum. The gum heals around the temporary, which is what gives the permanent crown a clean margin to meet.
Lets you function. You can eat and talk and, on a front tooth, not spend the week hiding your mouth.
03
Living with a temporary crown
It is bulkier than the real thing and it can feel rough against your tongue or lip. Cold registers more than usual. Both are normal and both end when the permanent crown goes on.
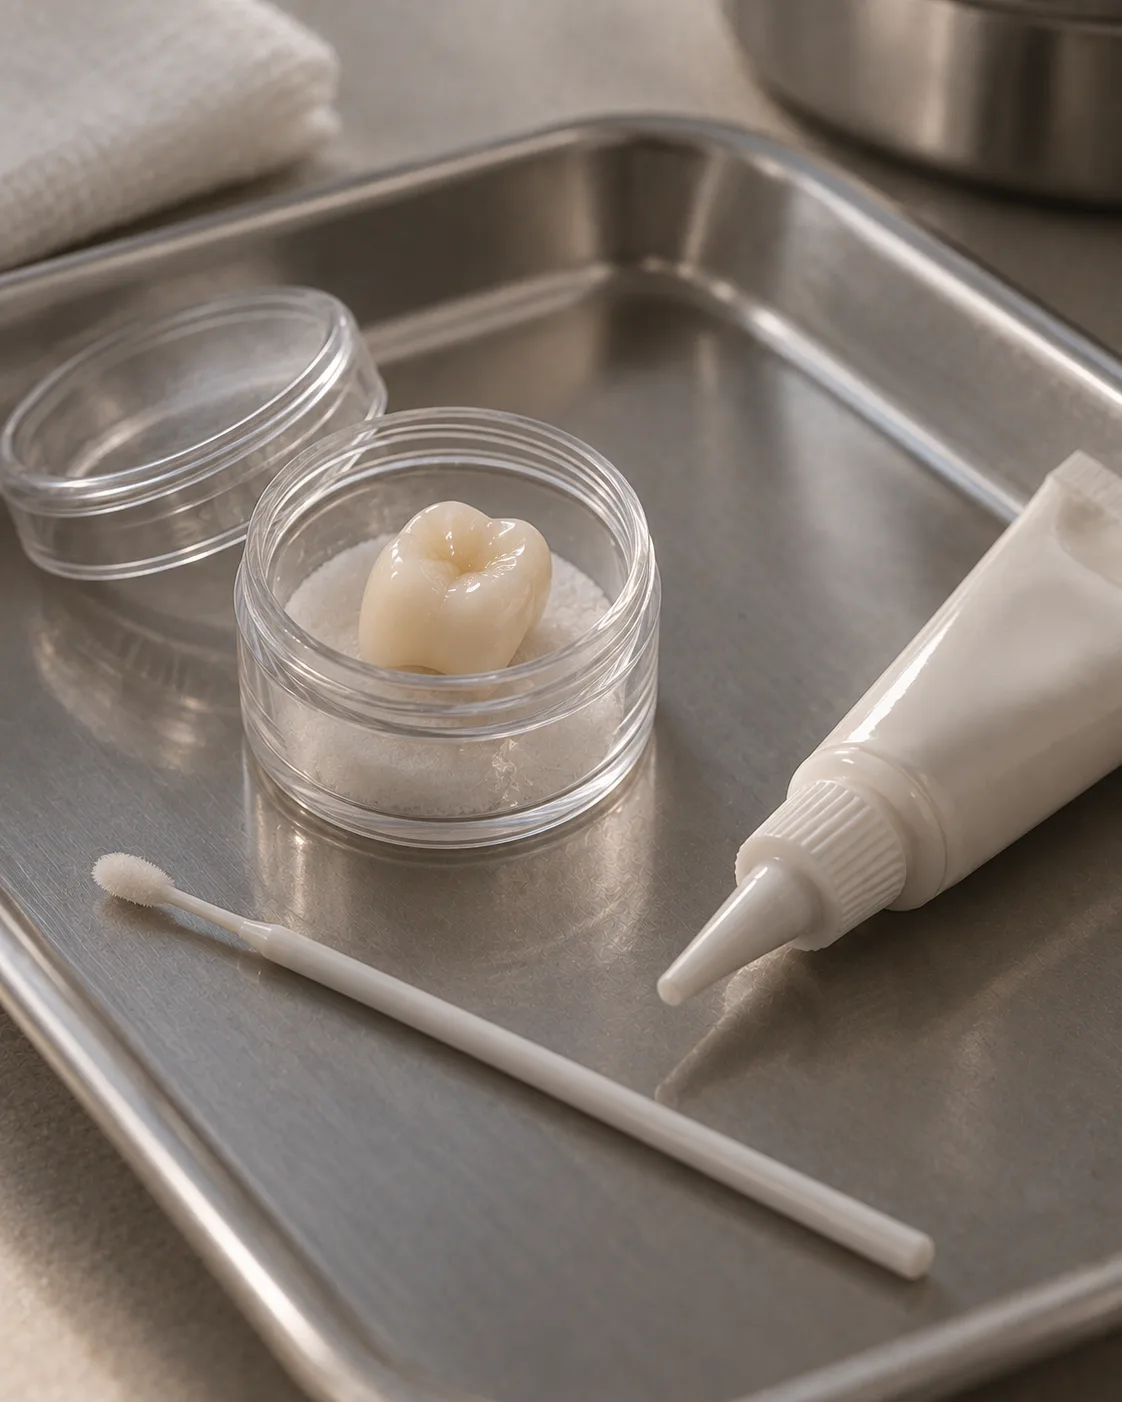
Avoid chewing sticky things on that side, and when you clean between the teeth, pull the floss out sideways rather than up - pulling it straight up is how most temporaries come off. If one does come loose, keep it, do not use household glue, and tell the clinic that day.
04
Temporary crowns when you are treated abroad
On a single trip you wear a temporary for a few days and fly home with the permanent crown fitted. That is the ordinary case and it needs no planning.
Where treatment spans two trips - implants, or complex work - you may wear a longer-term temporary at home for weeks or months. Ours are made to last that, and your plan says exactly how long you will be in one and what to do if it loosens while you are in the UK. Your patient manager is here, not in Antalya, which is the point of the arrangement.
Shade, shape and material
How your new smile is designed and made
Nothing is taken off a shelf. The colour, the shape of each tooth and the material are decided with you at the planning stage, then each piece is made for you in the laboratory inside the clinic building and tried in before it is fixed. This is what each of those decisions involves.
01
The shade
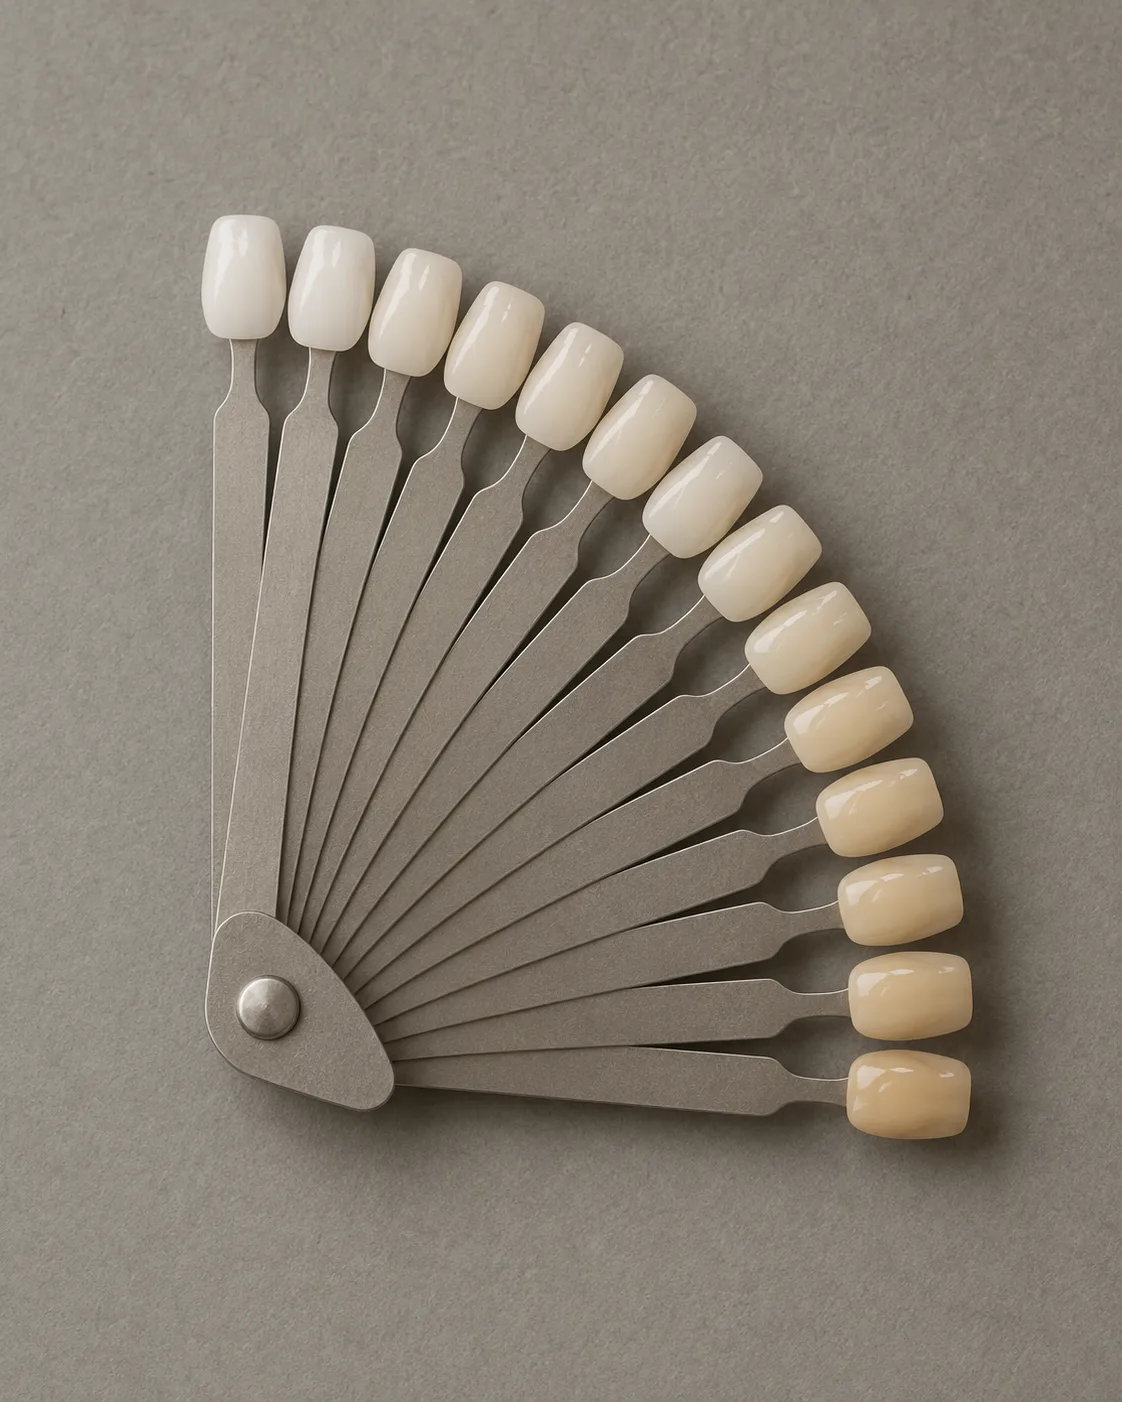
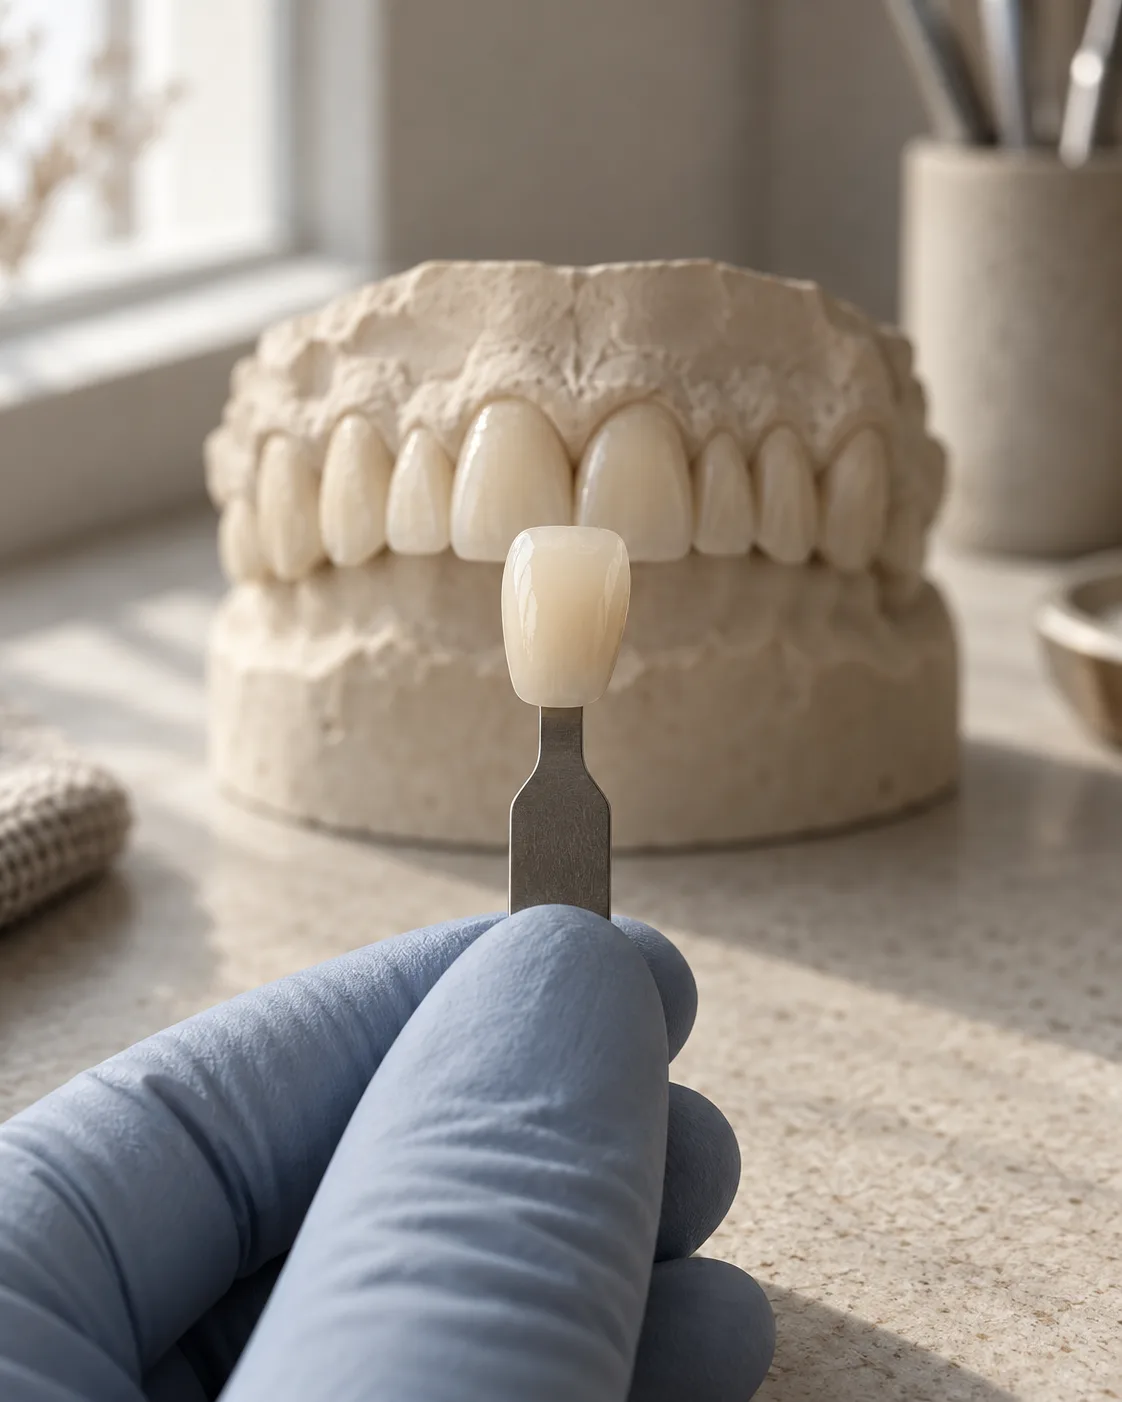
Tooth colour is chosen from a standard shade guide, the same one dentists and laboratories use worldwide. It runs from the bleached whites, BL1 to BL4, into the natural range, where B1 and A1 are the brightest shades a tooth is born with and A2 is the most common colour in adults. The tabs are held against your own teeth, your skin and the whites of your eyes in daylight, because a shade that looks right under a lamp can look wrong outside.
Bleached shadesNatural shades
BL1
BL2
BL3
BL4
B1
A1
B2
D2
A2
C1
C2
D4
A3
D3
B3
A3.5
Where most patients landThe most common natural shade
Two or three steps brighter than your ownThat reads as fresh. Much more than that, and the teeth start to look brighter than the face around them.
Bleached shades suit a full setA single veneer or crown is matched to the teeth beside it, not to the chart, so it disappears among them.
Whiten first if you are keeping natural teethPorcelain does not change colour later. If some of your own teeth stay, they are whitened first and the shade is chosen against the result.
03
The shape
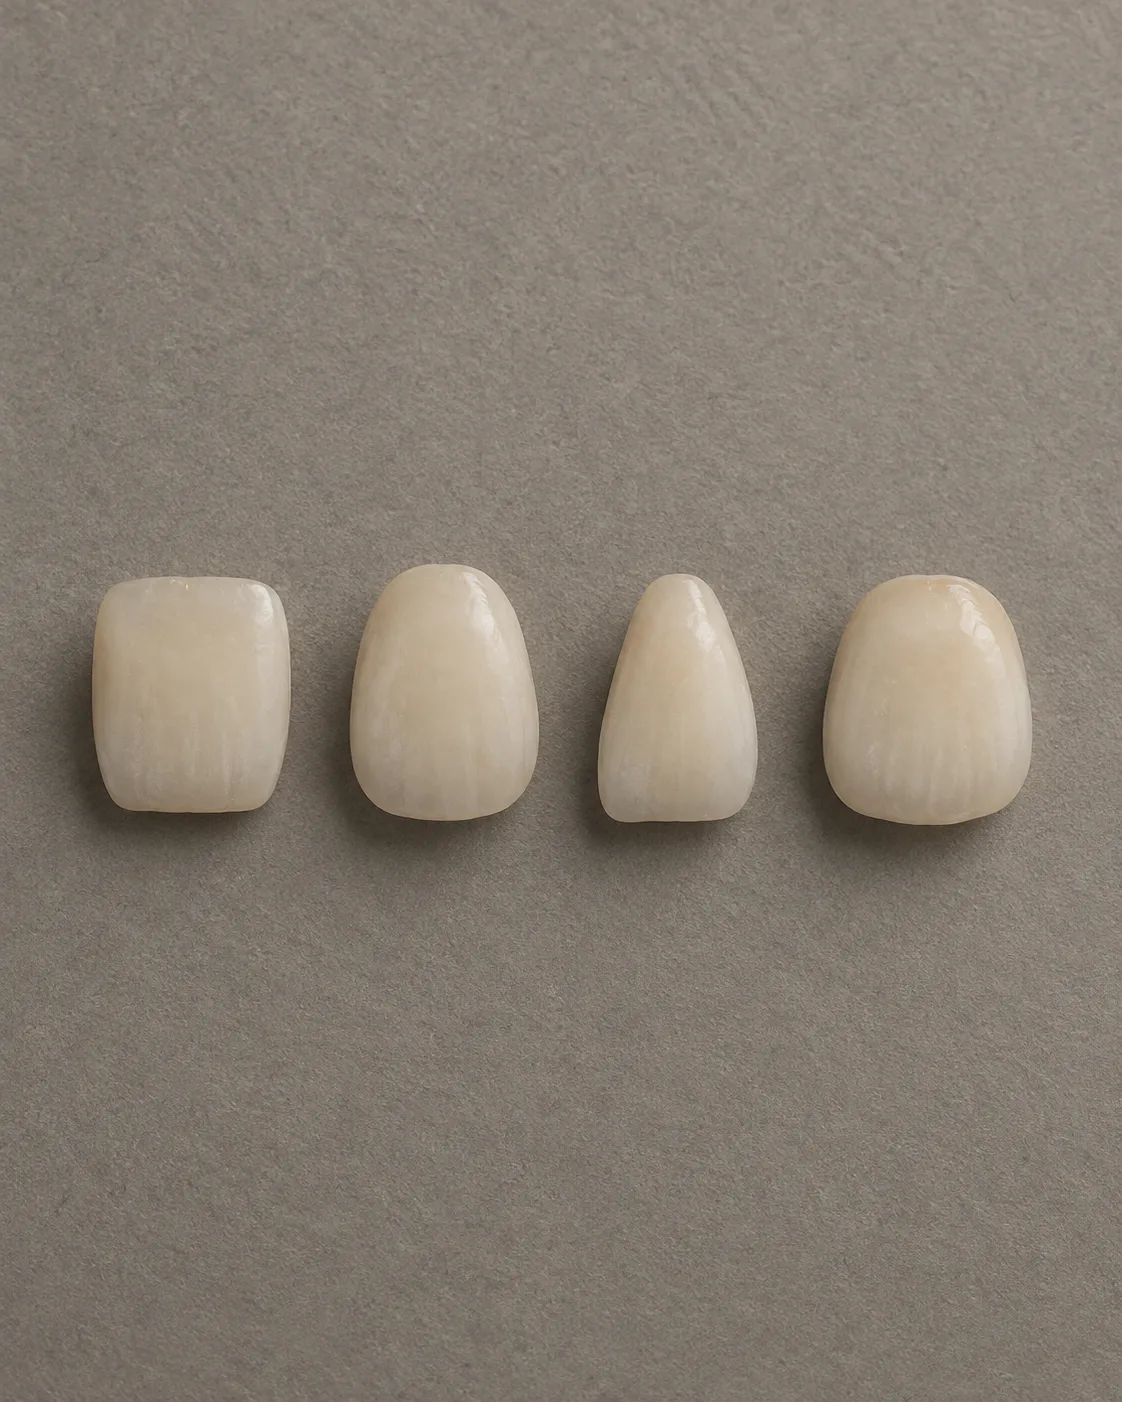
Front teeth come in four broad families, and a smile design starts by choosing the one that suits your face. Length, width and how the edges sit against your lip when you speak are set at the same time.
SquareStraight edges and flat corners. Reads as strong and assured, and suits a broad or angular face.
OvoidSoftly rounded corners on a longer body. The most natural choice for most faces, and the most often chosen.
TaperedNarrower at the gum, widening towards the edge. Delicate and youthful, and suits a slim face.
RoundedFull curves at every corner. Gentle and friendly, often chosen to soften a strong jaw.
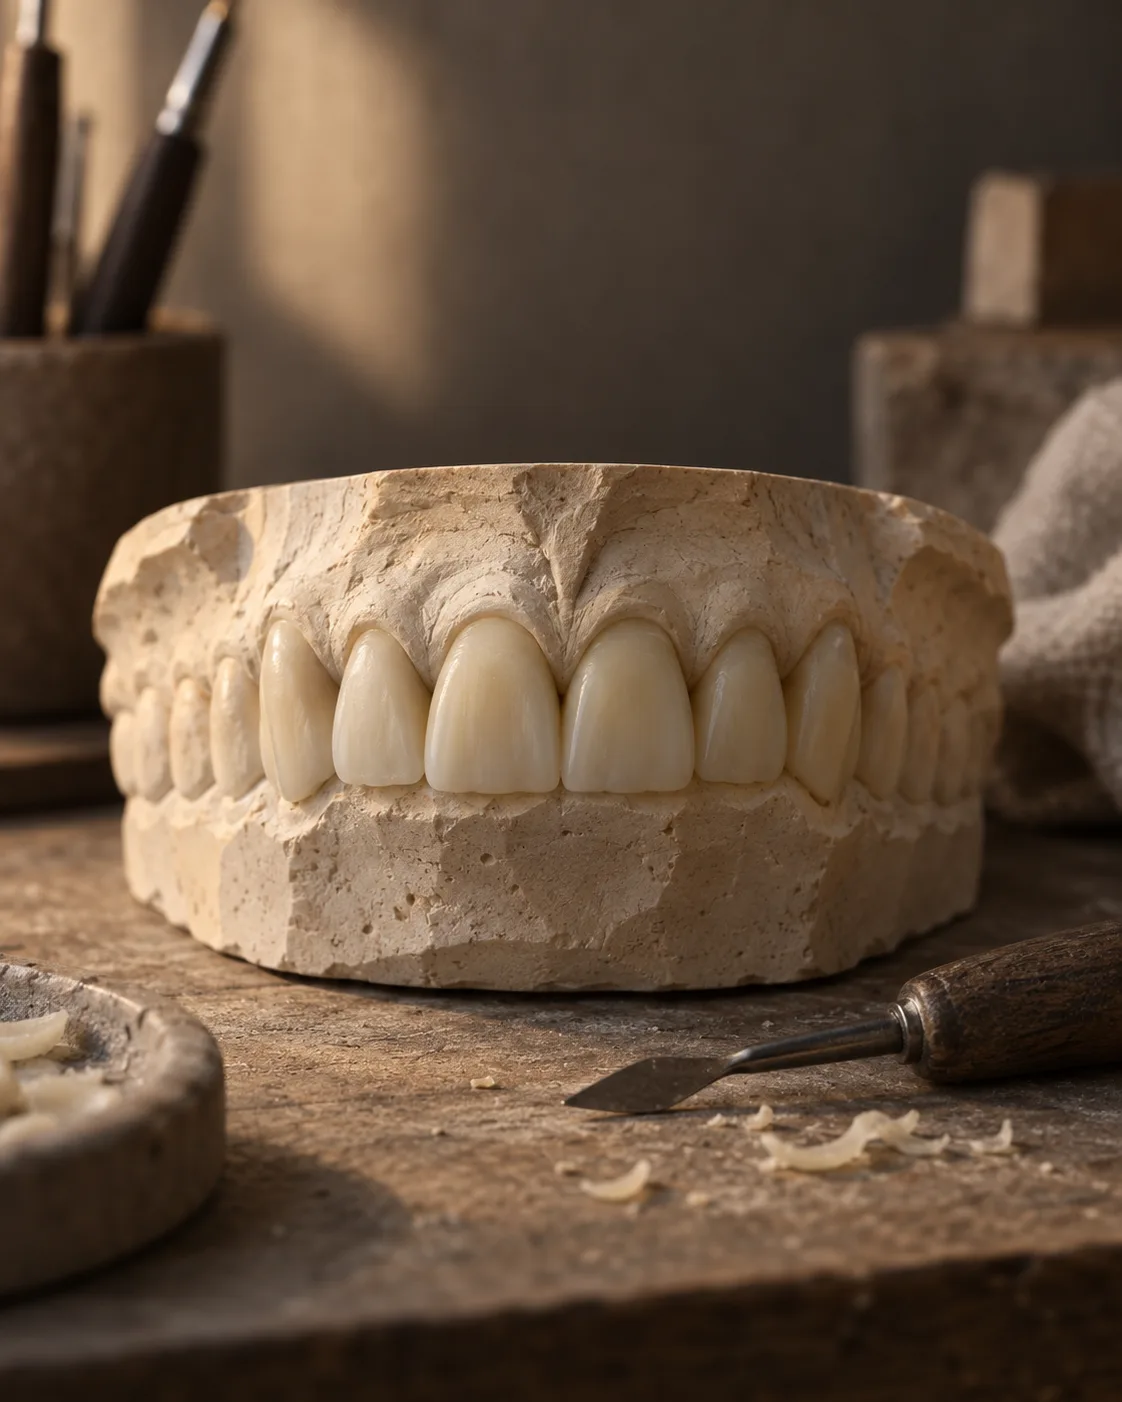
Before any tooth is prepared, the design is built in wax on a model of your teeth and then placed over your own teeth as a temporary mock-up. You see the shade, the shape and the length in your own mouth and in your own photographs. Anything you want changed is changed then, before the porcelain is made, not after.
05
The material
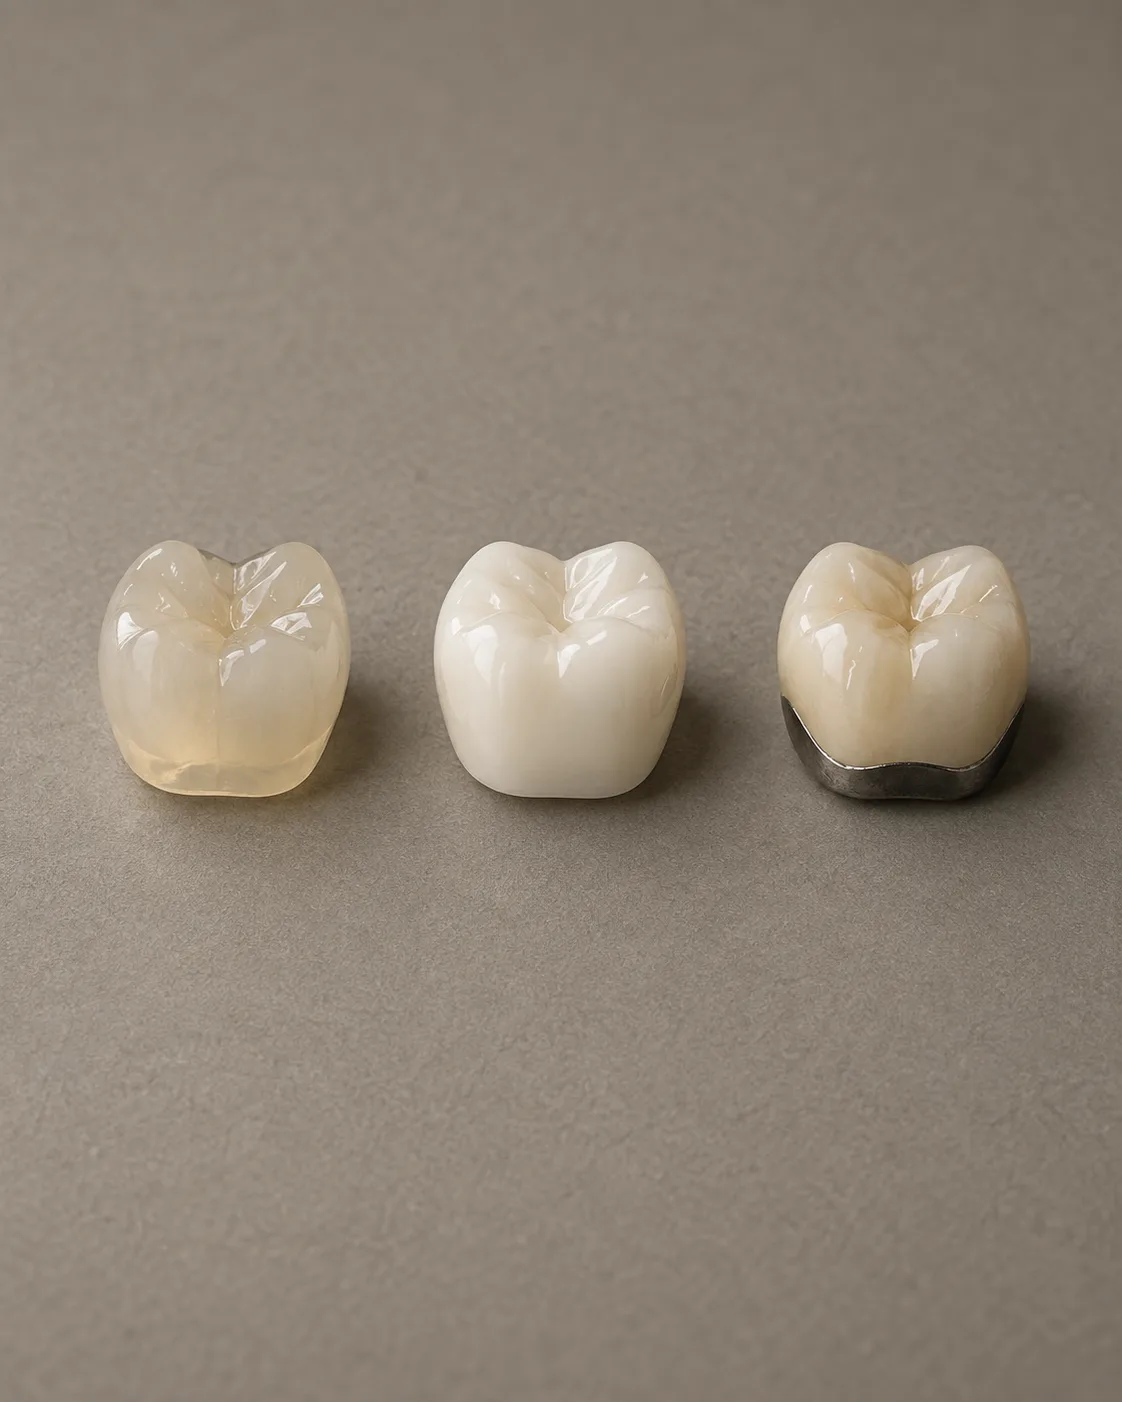
There is no best material, only the right one for each tooth. Front teeth are usually about how the light passes through; back teeth are about the bite. Your plan names the material for every tooth before you pay anything.
Material
How it looks
How strong
Best for
E-max (lithium disilicate)
The most lifelike. Light passes through it the way it passes through enamel.
Strong enough for any front tooth and for single crowns.
Veneers and front crowns, where looks matter most.
Zirconia
Bright and slightly more opaque, which is useful over a dark tooth.
The strongest ceramic there is. It does not chip.
Back teeth, bridges, full arches and heavy biters.
Layered zirconia
A zirconia core with porcelain layered on by hand for a natural surface.
The strength of zirconia underneath, the finish of porcelain on top.
Full smile makeovers that need both strength and looks.
Metal-ceramic
Porcelain over a metal cap. A dark line can show at the gum in time.
Proven over decades.
Back teeth where cost matters more than looks.
Six steps in the laboratory upstairs
How each piece is made
Every veneer and crown is made for one tooth in one mouth, in a laboratory inside the clinic building, so a try-in and an adjustment happen the same day rather than after a courier. Machines do the measuring and the cutting; people do the colour, the surface and the final check against your own teeth.
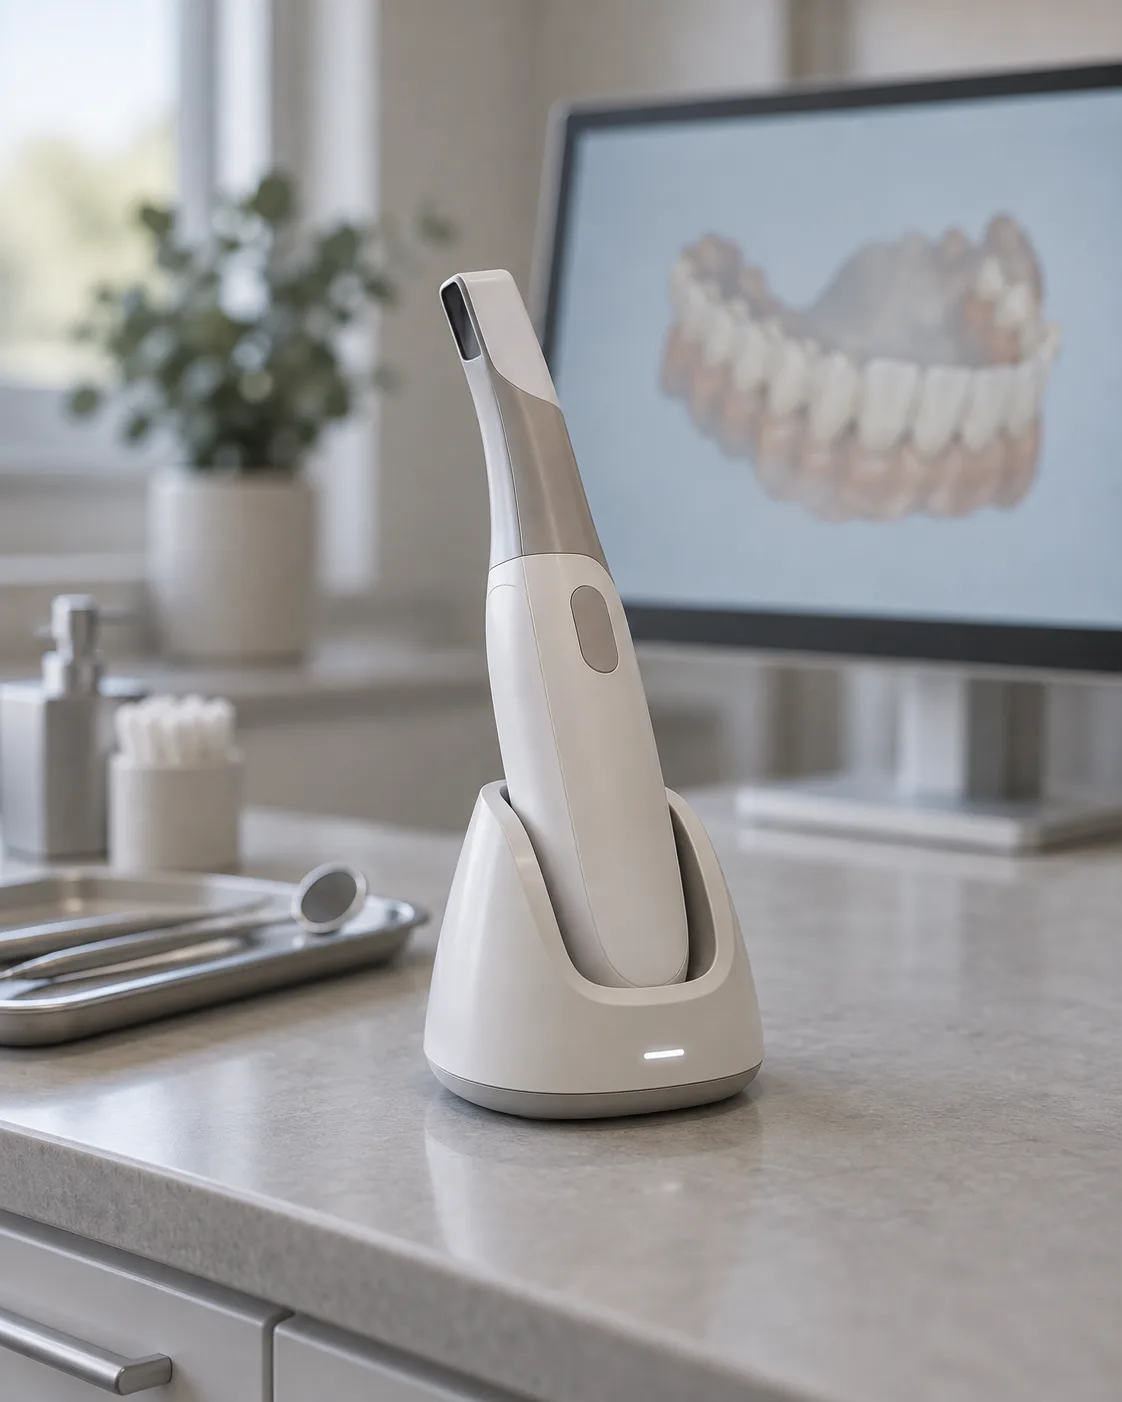
01The scanA digital scanner records your prepared teeth in a few minutes. No trays of impression putty.
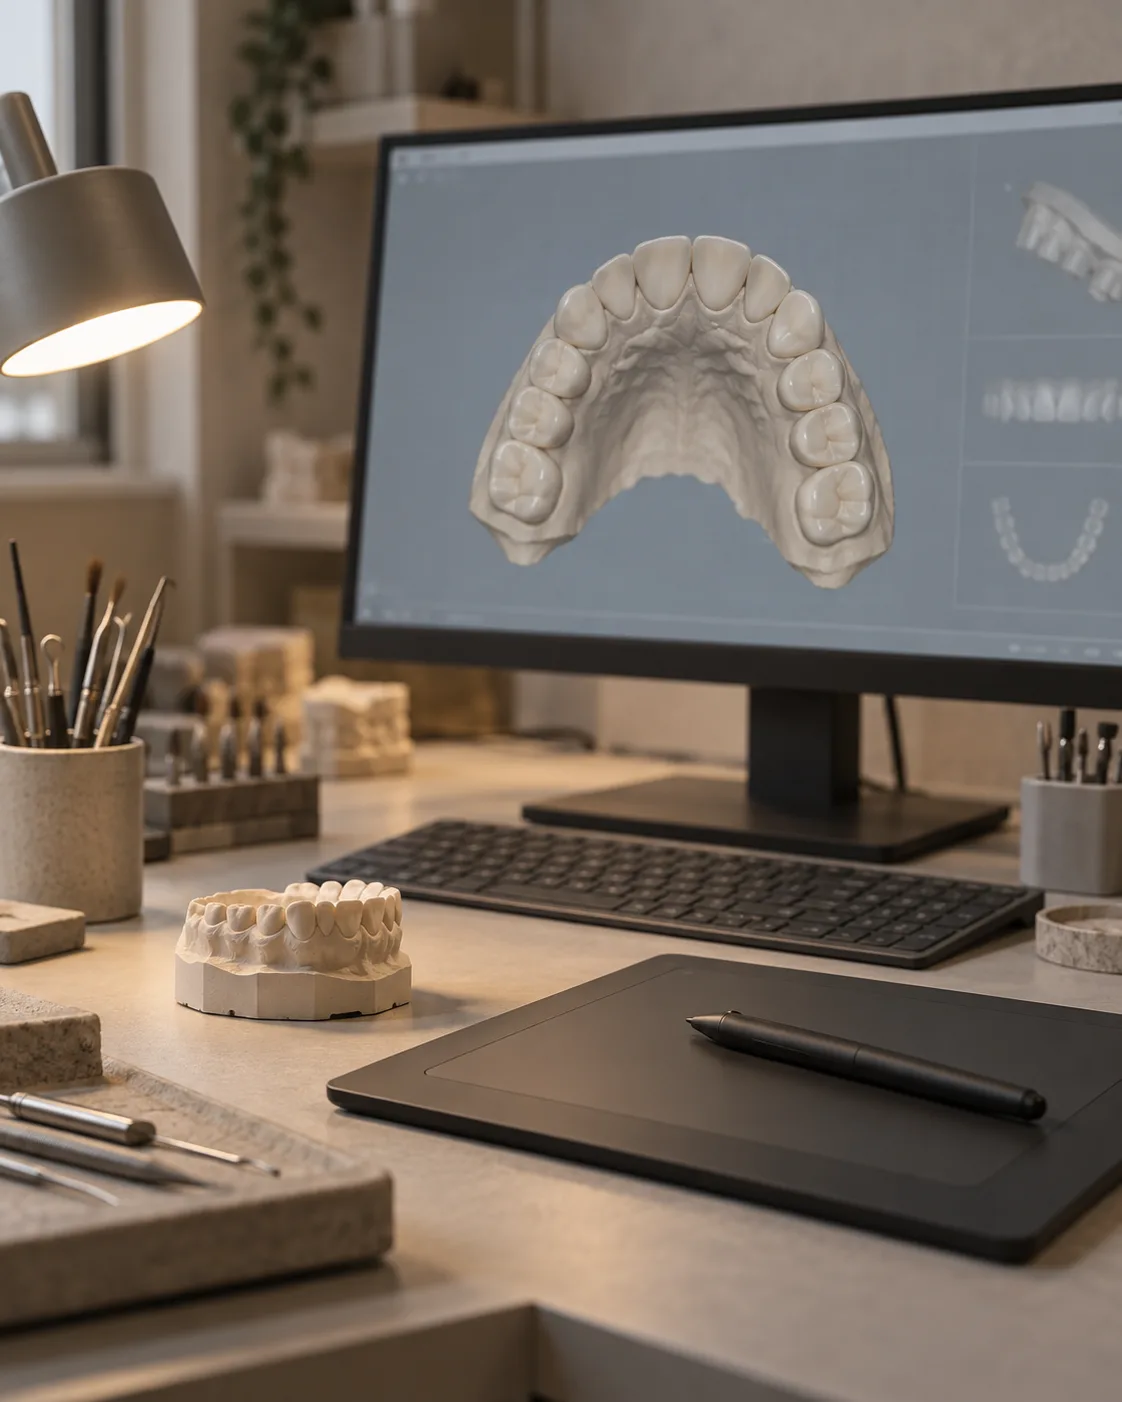
02The designA technician designs each tooth on screen against your photographs and the trial smile you approved.
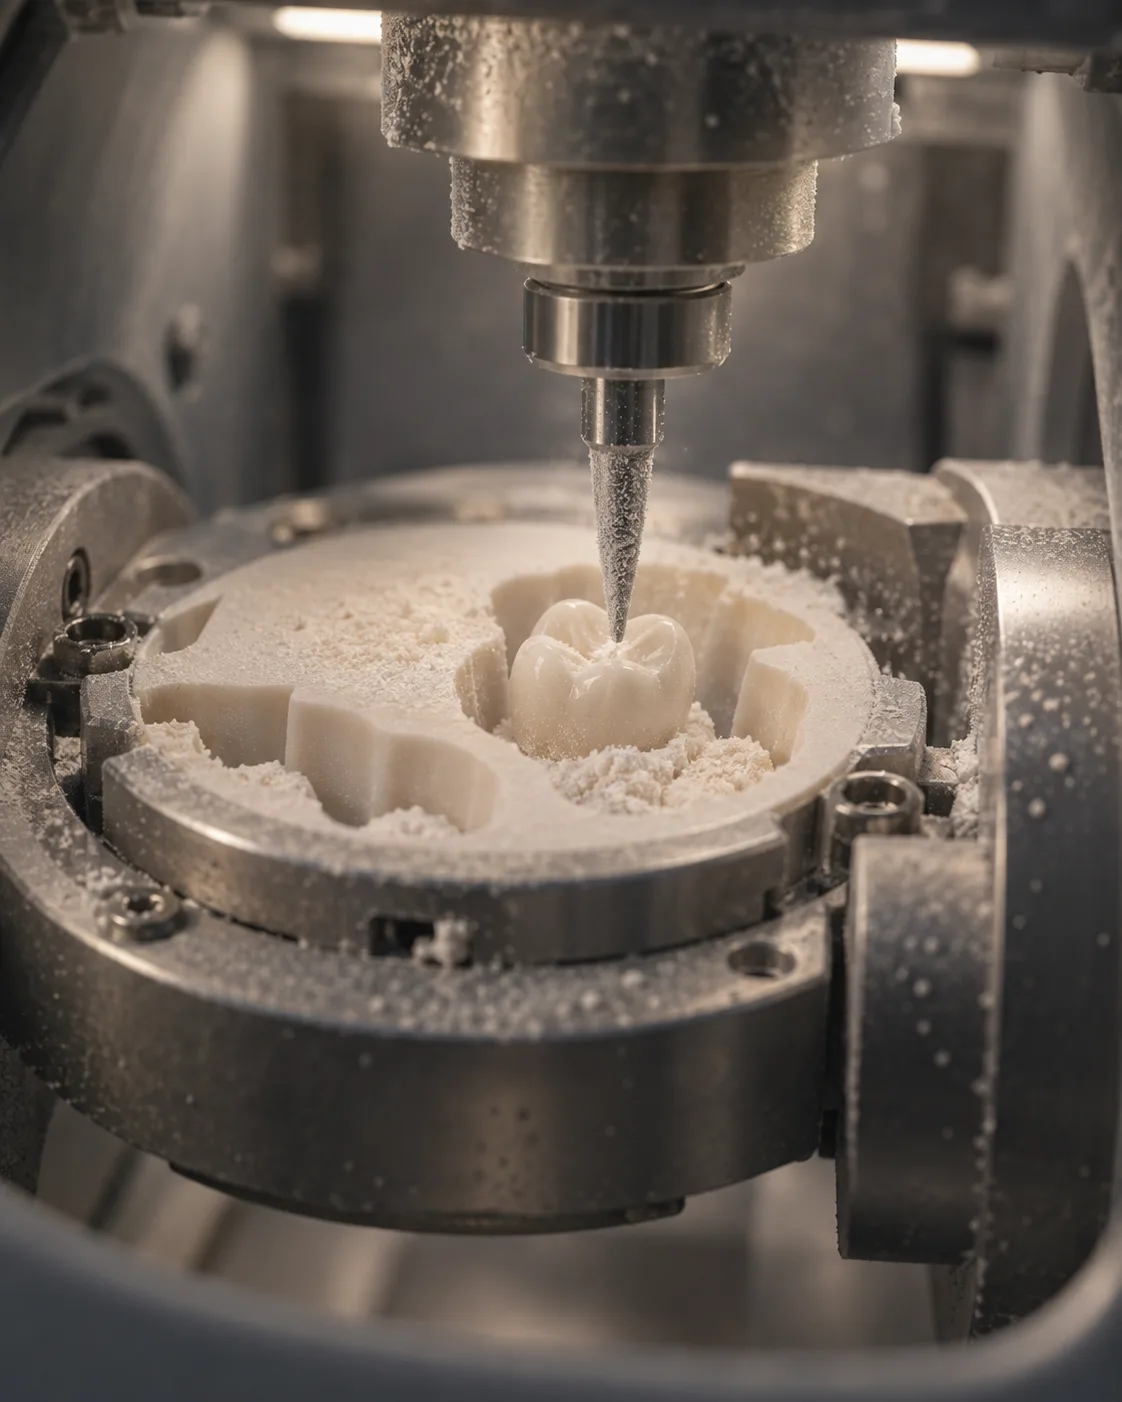
03MillingThe design is cut from a solid disc of zirconia, or pressed from an E-max ingot, to a tenth of a millimetre.
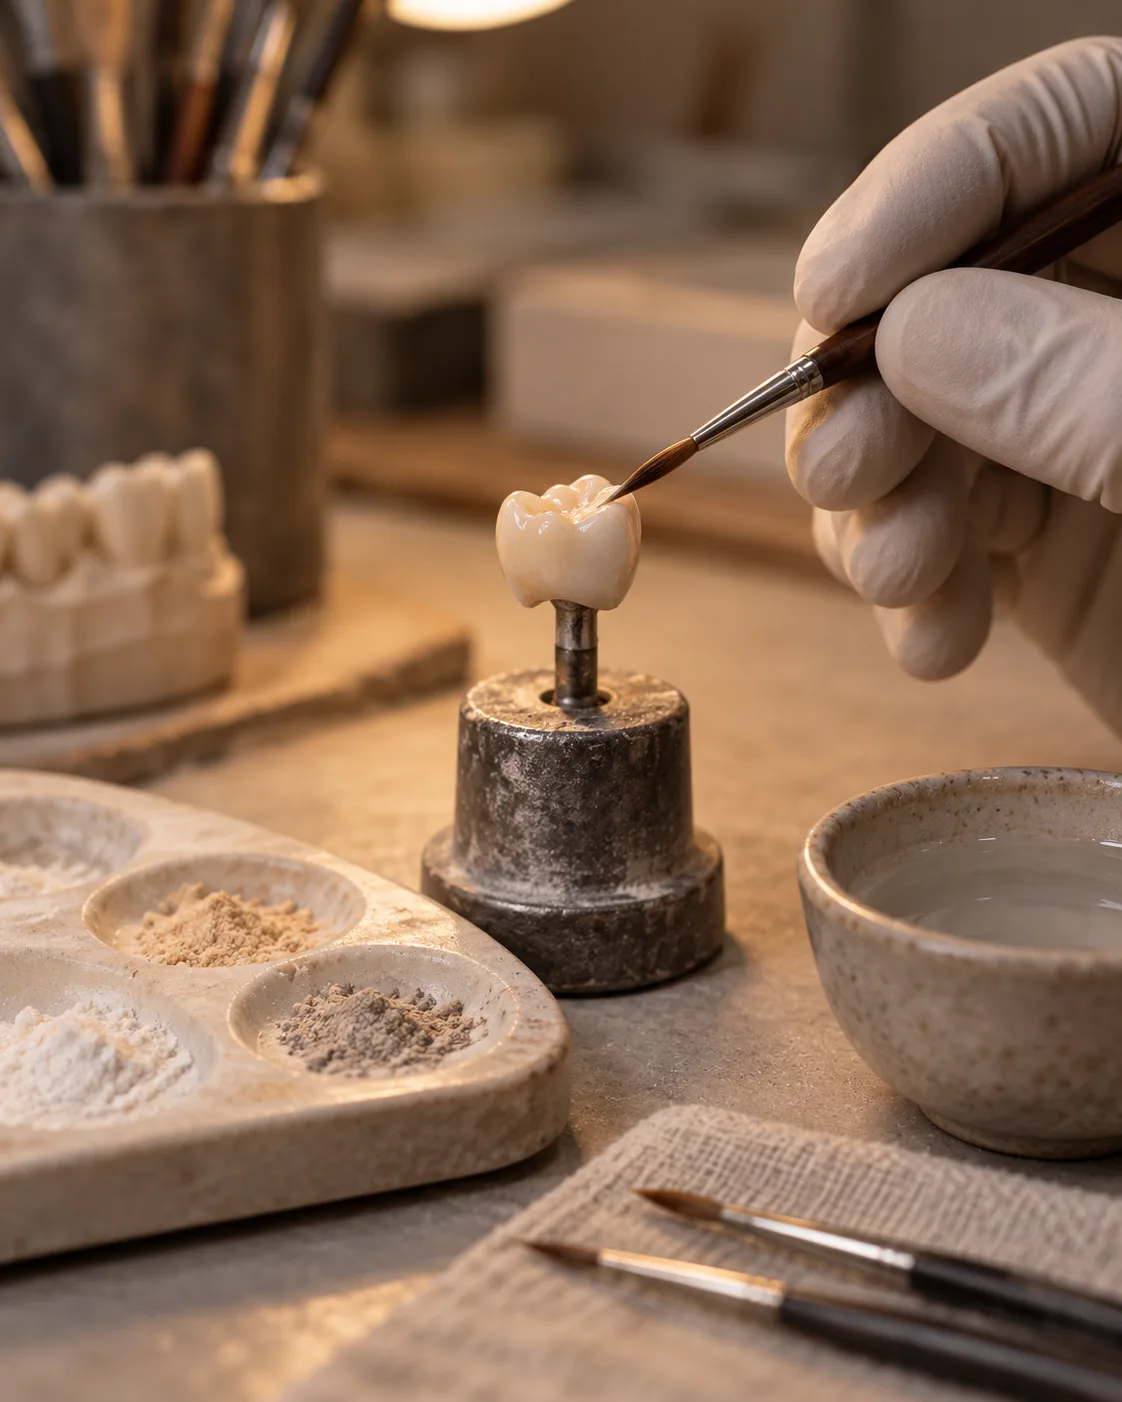
04LayeringPorcelain is painted on by hand in thin layers to build the depth and translucency of a real tooth.
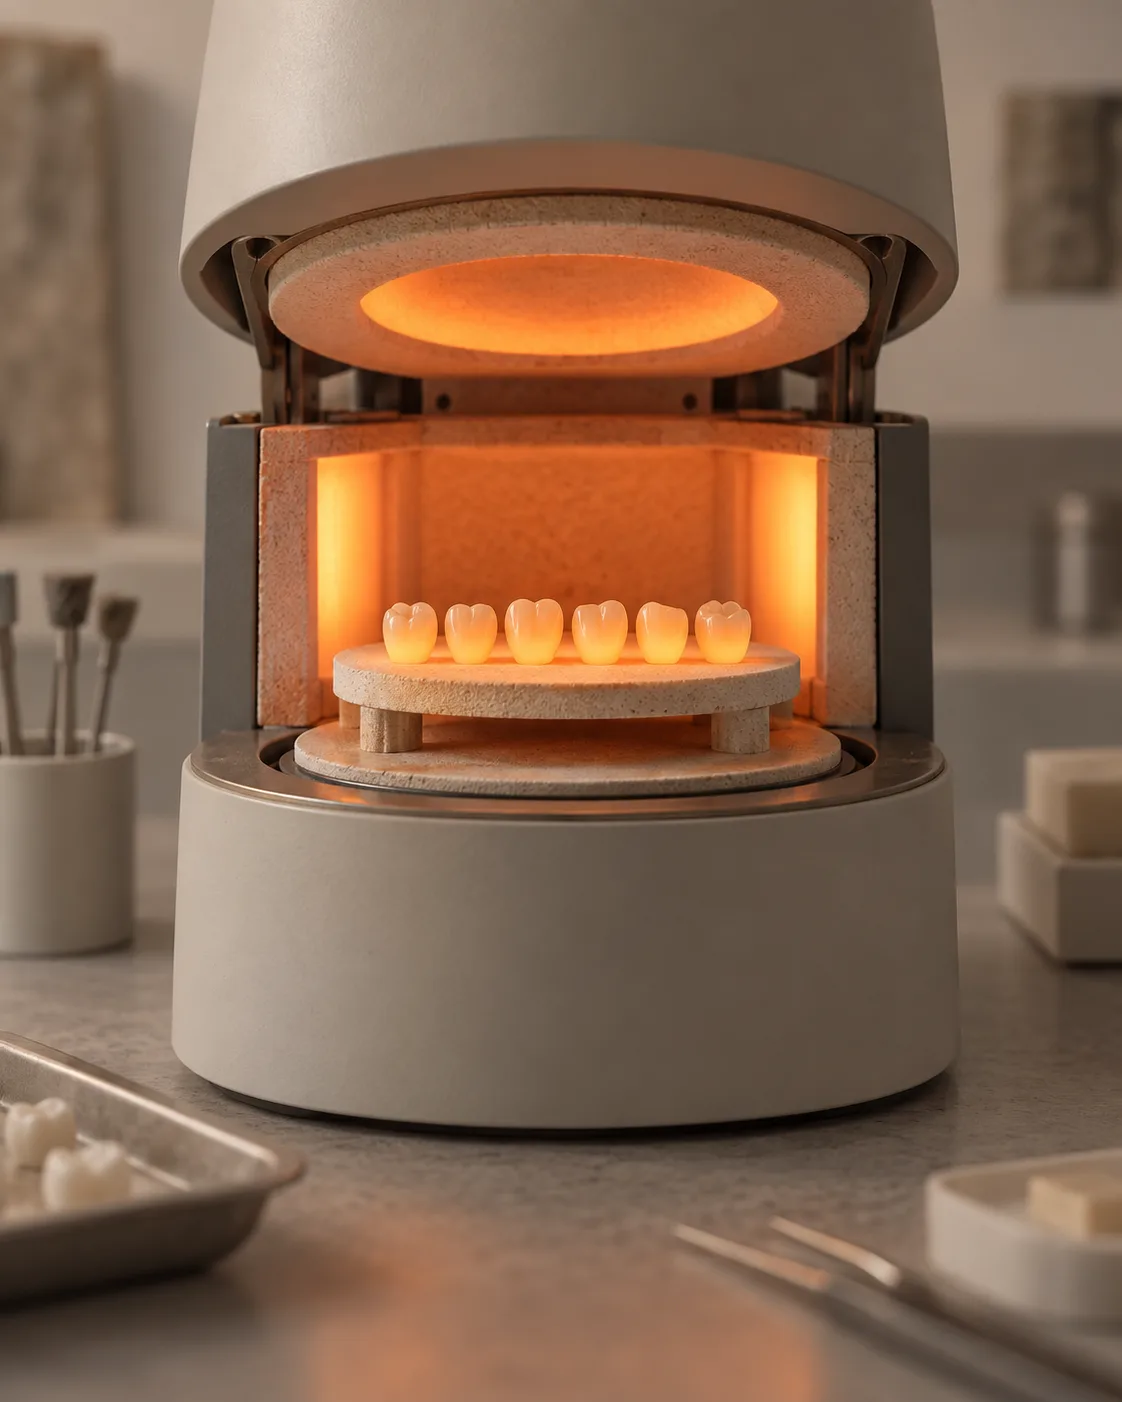
05Firing and glazingEach piece is fired, then stained and glazed by hand and checked against your shade tab in daylight.
06The try-inEvery piece is tried in and adjusted before it is bonded. You approve it in the mirror first.
Answered plainly
Temporary crowns: your questions answered
Still not sure? A clinician talks it through before you commit to anything.
No. It is part of the crown treatment. A full-arch PMMA temporary denture for implant cases is a separate line at £500 an arch, and it appears on your plan if it applies.
How long can I wear one?
Days for a normal crown case. Weeks or months for a longer-term temporary made for the job - the plan will say which you have.
What if it falls off at home?
Keep it, do not glue it, and message your patient manager the same day. It usually recements easily; the risk of leaving it is the neighbouring teeth drifting.
Can I eat normally?
Mostly. Avoid sticky and very hard things on that side and chew on the other where you can.
Will it look obvious?
Acceptable rather than beautiful. It is shade-matched approximately, and its shape is functional - the finished crown is the one that is made to match.
Why does it feel sensitive?
Because the enamel is gone and the temporary cement is deliberately soft so it can be removed cleanly. It settles once the permanent crown is bonded.
Tell us what you need. We will price it in writing.
One message and a coordinator replies with an indicative plan and price. Send a photograph of your smile if you have one - it makes the answer better, and it is never a call unless you ask for one.
We use a few cookies to keep the site working - your language, your currency, and your
session if you are signed in. Those are always on because the site cannot work without them.
We would also like to use one that measures how people find us and pays us a commission
on travel booked through the site. That one is entirely your call.
Read the privacy policy.